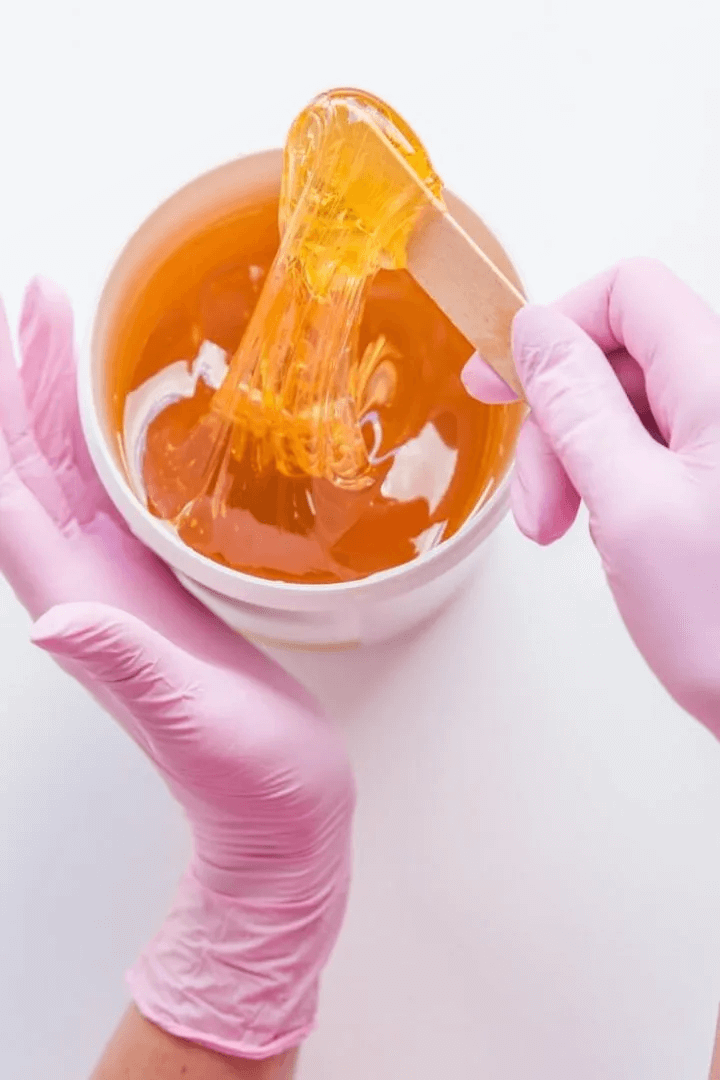
Sugar waxing, also known as sugaring, is an ancient hair removal technique that has been used for centuries. It’s a natural, cost-effective, and gentle alternative to traditional waxing. Made from simple ingredients like sugar, lemon juice, and water, sugar wax is easy to prepare at home and can be used to remove unwanted hair from various parts of the body, including the legs, arms, underarms, and even the bikini area. If you’re looking for a DIY hair removal method that’s kind to your skin and free from harsh chemicals, learning how to make sugar wax is a great skill to have. In this guide, we’ll walk you through the process step by step, share tips for success, and explain why sugar waxing might be the perfect solution for your hair removal needs.
What is Sugar Wax?
Sugar wax is a sticky paste made primarily from sugar, lemon juice, and water. It works similarly to traditional wax by adhering to hair and removing it from the root when pulled off. However, sugar wax has several advantages over conventional wax:
- Natural Ingredients: Sugar wax is made from all-natural ingredients, making it suitable for sensitive skin and reducing the risk of irritation or allergic reactions.
- Gentle on Skin: Unlike traditional wax, sugar wax sticks to the hair rather than the skin, which can make it less painful and less likely to cause redness or irritation.
- Easy Cleanup: Sugar wax is water-soluble, so any residue can be easily washed away with warm water.
- Cost-Effective: Making sugar wax at home is inexpensive, as it requires only a few basic ingredients.
Ingredients for Making Sugar Wax
To make sugar wax, you’ll need the following ingredients:
- 1 cup of granulated sugar: This is the base of the wax and provides the sticky consistency needed to remove hair.
- 2 tablespoons of lemon juice: The acidity of lemon juice helps break down the sugar and prevents crystallization. It also has natural antibacterial properties.
- 2 tablespoons of water: Water helps dissolve the sugar and achieve the right consistency.
Optional additions:
- 1-2 drops of essential oil: For added fragrance and skin benefits, you can include essential oils like lavender, tea tree, or chamomile.
Step-by-Step Guide on How to Make Sugar Wax
Making sugar wax at home is a straightforward process, but it requires careful attention to achieve the right consistency. Follow these steps to create your own sugar wax:
Step 1: Combine the Ingredients
- In a medium-sized saucepan, combine 1 cup of sugar, 2 tablespoons of lemon juice, and 2 tablespoons of water.
- Stir the mixture gently to ensure the sugar is evenly moistened.
Step 2: Heat the Mixture
- Place the saucepan on the stove over medium heat.
- Allow the mixture to come to a boil, stirring occasionally to prevent burning.
- Once it starts boiling, reduce the heat to low and let it simmer. Avoid stirring too much, as this can cause the sugar to crystallize.
Step 3: Monitor the Color and Consistency
- As the mixture simmers, it will gradually change color from clear to a golden amber hue. This process typically takes about 5-10 minutes.
- To test the consistency, drop a small amount of the mixture into a bowl of cold water. If it forms a soft, pliable ball that holds its shape, it’s ready. If it’s too runny, continue simmering for another minute or two.
Step 4: Cool the Wax
- Once the mixture reaches the desired consistency, remove it from the heat and let it cool for 10-15 minutes. It should be warm but not hot when applied to the skin.
- If you’re using essential oils, add a few drops at this stage and stir gently to incorporate.
Step 5: Transfer to a Container
- Pour the sugar wax into a clean, heat-resistant container or jar. Allow it to cool completely before use.
- Store the wax at room temperature. It can last for several weeks if kept in an airtight container.
How to Use Sugar Wax for Hair Removal
Now that you’ve learned how to make sugar wax, here’s how to use it effectively for hair removal:
- Prepare Your Skin:
- Cleanse the area you want to wax to remove any dirt, oil, or lotion.
- Lightly dust the skin with cornstarch or baby powder to absorb moisture and help the wax adhere better to the hair.
- Apply the Wax:
- Scoop a small amount of sugar wax with your fingers or a spatula.
- Warm it between your hands until it’s pliable, then press it onto the skin in the direction of hair growth.
- Remove the Wax:
- Hold the skin taut with one hand and use the other hand to quickly flick the wax off in the opposite direction of hair growth.
- Repeat the process until all unwanted hair is removed.
- Aftercare:
- Rinse the skin with cool water to remove any residue.
- Apply a soothing moisturizer or aloe vera gel to calm the skin.
Tips for Successful Sugar Waxing
- Test the Temperature: Always test the wax on a small area of your skin to ensure it’s not too hot.
- Work in Small Sections: Apply the wax to small sections at a time for better control and effectiveness.
- Exfoliate First: Gently exfoliate your skin a day before waxing to remove dead skin cells and prevent ingrown hairs.
- Avoid Overheating: If the wax becomes too thick or hard, you can reheat it slightly in the microwave or on the stove.
Benefits of Sugar Waxing
- Natural and Safe: Free from chemicals and additives, sugar wax is gentle on the skin.
- Less Painful: Sugar wax adheres to the hair rather than the skin, making it less painful than traditional wax.
- Exfoliating: Sugar waxing removes dead skin cells, leaving your skin smooth and soft.
- Eco-Friendly: Since it’s made from natural ingredients, sugar wax is environmentally friendly.
Conclusion
Learning how to make sugar wax is a simple and rewarding process that can save you money and provide a natural alternative to commercial hair removal products. With just a few basic ingredients and a little patience, you can create a gentle and effective wax that leaves your skin smooth and hair-free. Whether you’re new to DIY beauty solutions or looking for a more skin-friendly hair removal method, sugar waxing is a fantastic option to try. Follow the steps outlined above, and you’ll be well on your way to mastering the art of sugaring!